Creating a Barcode Web Service with SmartCodeWebControl
This tutorial demonstrates the creation of a barcode web service using SmartCodeWebControl. When the service is hosted, you will be able to use a HTTP request to retrieve a barcode image in the PNG format.
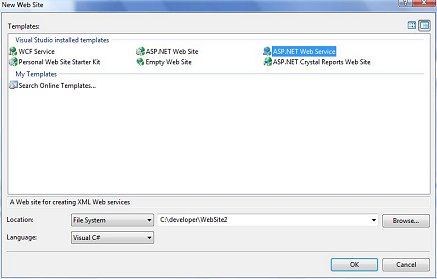
1) To get started, go to File::New Web Site in Visual Studio, and select ASP.NET Web Service. Name the service WebSite2 as shown in the picture below.
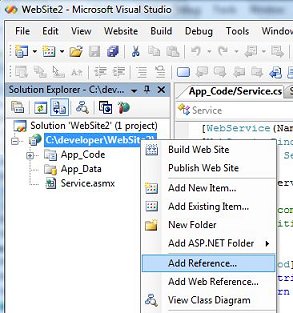
2) Add a reference to SmartCodeWebControl. Right click on the WebSite2 project and select Add Reference.
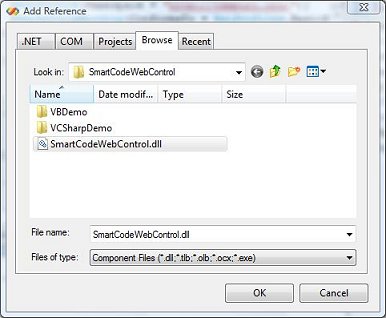
3) Click the Browse Tab and navigate to SmartCodeWebControl.dll. The default location for the dll is at
C:\Program Files\TechnoRiver\SmartCodeWebControl\SmartCodeWebControl.dll
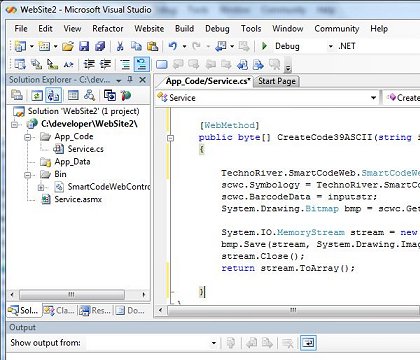
4) We will now write a web method CreateCode39ASCII for our web service. Copy and paste the block of code into the Service.cs file of the project.
What the code does is to create an instance of SmartCodeWebControl, and set the data to be encoded to be inputstr. After that, we obtain a bitmap from the barcode control and convert it into PNG format.
Finally, we return the PNG image as an array of bytes at the last line.
public byte[] CreateCode39ASCII(string inputstr)
{
TechnoRiver.SmartCodeWeb.SmartCodeWebControl scwc = new TechnoRiver.SmartCodeWeb.SmartCodeWebControl();
scwc.Symbology = TechnoRiver.SmartCodeWeb.SmartCodeWebControl.BarcodeSymbology.CODE39ASCII;
scwc.BarcodeData = inputstr;
System.Drawing.Bitmap bmp = scwc.GetBitMap();
System.IO.MemoryStream stream = new System.IO.MemoryStream();
bmp.Save(stream, System.Drawing.Imaging.ImageFormat.Png);
stream.Close();
return stream.ToArray();
}
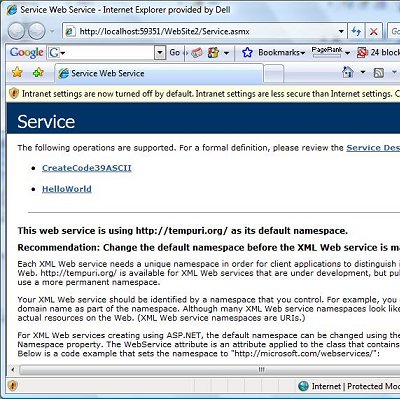
5) We can now build the solution and test the web service. By running the web application (Debug::Start Without Debugging), you should see something as follows.
Notice the CreateCode39ASCII method that we have created previously is listed.
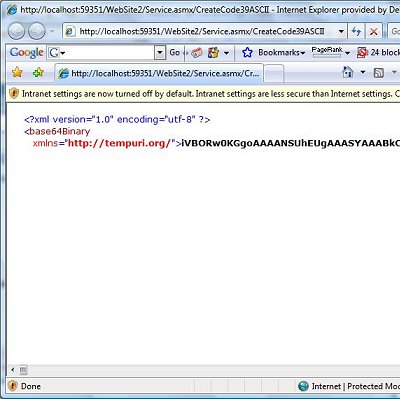
6) Click on the CreateCode39ASCII link and you will be directed to a web page as shown. Test the web method by entering values into the inputstr and click the Invoke button.

7) The web service will return an XML file with a tag for base64binary like below.
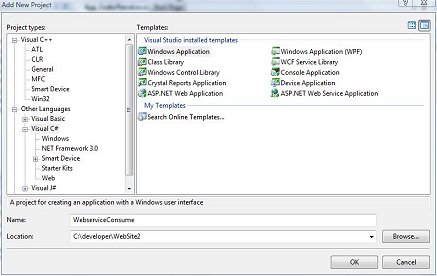
8) We will now write a Windows Forms application to consume the web service. To simplify things we will create the Windows Forms application within the same project. This will allow it to connect to the Web Service locally.
Right click your solution and add a new project.

9) Choose the Windows Application template and name it WebserviceConsume.
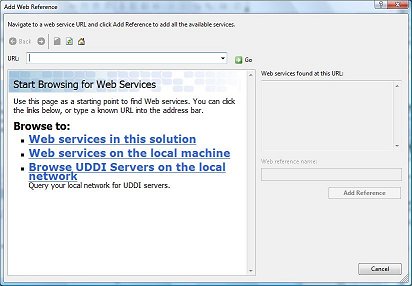
10) Add a Web Reference to the service we created in our previous steps..
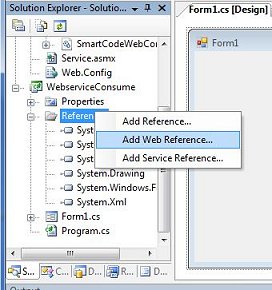
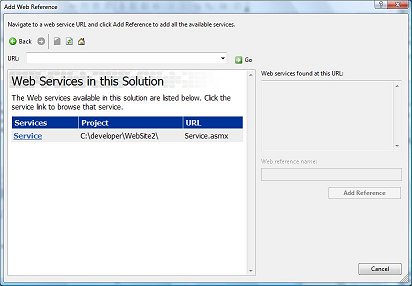
11) Choose "Web services in this solution"
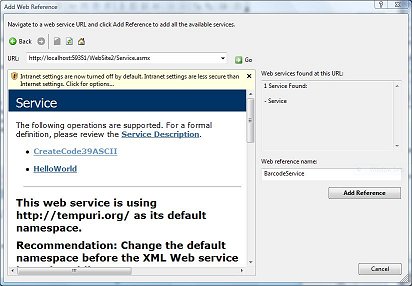
12) Click on the link "Service"
13) Name the web reference "BarcodeService" and click the "Add Reference" button.
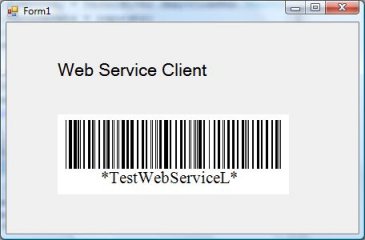
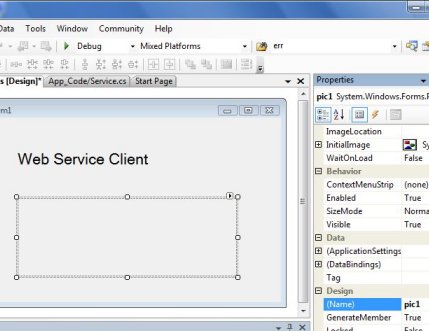
14) We now return to the form of our Windows Application and insert a label with the text "Web Service Client".
Next, we drop a picture box to hold the barcode image returned from the web service. Name the picture box "pic1"
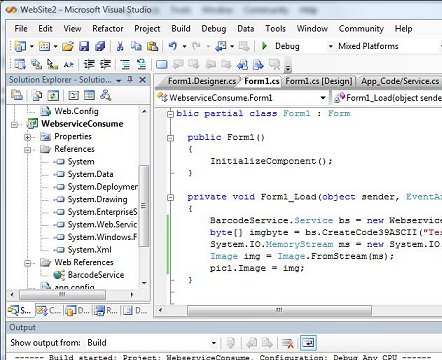
15) Add a Form_Load event to the form and create an instance of the web service. Invoke the CreateCode39ASCII method we defined earlier to retrieve the barcode image.
The returned PNG image is stored as an array of byte in the imgbyte variable. Convert the byte array into an Image and set it to the picture box (pic1).
The code should look like the following.
{
BarcodeService.Service bs = new WebserviceConsume.BarcodeService.Service();
byte[] imgbyte = bs.CreateCode39ASCII("TestWebService");
System.IO.MemoryStream ms = new System.IO.MemoryStream(imgbyte);
Image img = Image.FromStream(ms);
pic1.Image = img;
}
16) We are now ready to run the WebserviceConsume application. The result should look as follows. The "L" at the end of the barcode data is the check digit of the Code 39 ASCII barcode.